
A Complete Beginner’s Guide
Let’s be real for a second. You’ve probably stood in front of a beat-up IKEA dresser or a thrift-store find, wondered if it could be saved, and then talked yourself out of it because someone told you MDF is impossible to refinish. That advice is mostly wrong. Manufactured wood, including medium-density fiberboard, can absolutely be sanded, primed, painted, and brought back to life — you just have to understand how it behaves before you dive in.
MDF is not like solid wood. It doesn’t have a grain, it doesn’t respond well to water, and it reacts to moisture in very specific ways that can ruin a project if you’re not careful. But it is remarkably smooth on its face surface, it holds paint beautifully once properly prepped, and it’s one of the most common materials found in flat-pack furniture, cabinetry, and laminate pieces. If you’re flipping furniture on a budget or simply refreshing something already in your home, knowing how to work with MDF correctly is a skill worth having.
This guide walks you through everything — from understanding what MDF actually is and why it behaves the way it does, to the exact steps you need to follow to sand and refinish it without ruining the piece. Whether you’re painting laminate furniture for the first time or have a couple of small projects under your belt, there’s something practical here for you.
What You Need to Know at a Glance
- MDF stands for medium-density fiberboard, a manufactured wood product made from compressed wood fibers and resin.
- Sanding MDF requires a light touch — over-sanding raises the surface fibers and creates a fuzzy texture that is very hard to recover.
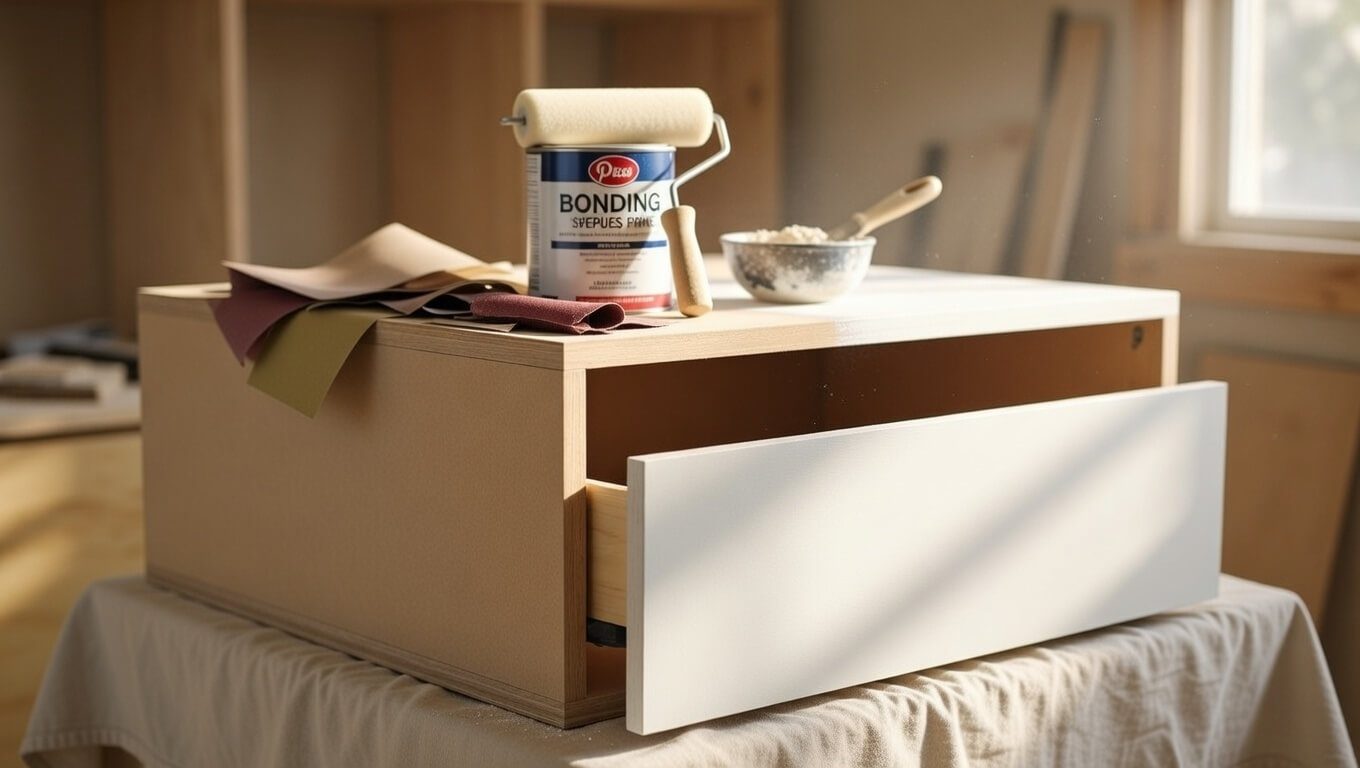
- A bonding primer is non-negotiable before paint; skipping this step leads to peeling and bubbling within weeks.
- Laminate-covered MDF pieces need light scuff sanding rather than aggressive sanding to give primer something to grip.
- Water-based products can swell MDF edges; oil-based or shellac primer on the edges prevents this problem.
- Finishing with two to three thin coats of paint delivers far better results than one thick coat.
- The entire process, done right, can cost as little as $25 to $30 using budget-friendly supplies.
What Is Manufactured Wood and Why Does It Behave Differently
Manufactured wood is an umbrella term covering MDF, particleboard, plywood, and engineered wood composites. For furniture refinishing purposes, MDF is the material you’ll encounter most often. It’s made by breaking down wood residuals into fine fibers, combining them with wax and a resin binder, and then pressing everything into dense, flat panels under high temperature and pressure.
The result is a material that is perfectly smooth on its face surfaces but surprisingly porous and fragile at its edges and corners. That combination is what trips up most beginners. The face sands beautifully, but the edges absorb moisture and primer like a sponge, which causes them to swell and become rough. Understanding this distinction is the foundation of doing the job right.
Laminate-Covered vs. Raw MDF
A lot of furniture marketed simply as ‘wood’ is actually MDF wrapped in a thin laminate or paper veneer skin. If the surface of your piece feels perfectly smooth and almost plastic-like, it’s very likely laminate over MDF. This matters because laminate has almost no tooth for paint to grip without preparation. You absolutely cannot skip scuff sanding these pieces.
Raw MDF, on the other hand, has a smooth fiber surface that accepts primer more readily, but its edges are always the weak point regardless. Knowing which type you’re working with will determine your sanding approach from the very start.
Tools and Materials You Will Need
Getting the right supplies before you start saves you from making frustrating mid-project runs to the hardware store. None of these items are difficult to find, and most are available at any home improvement store or online retailer.
- Sandpaper in 120-grit, 150-grit, and 220-grit
- Sanding block or orbital sander
- Tack cloth or clean microfiber cloth
- Oil-based or shellac-based primer for edges (Zinsser BIN shellac primer is widely trusted)
- Water-based bonding primer for face surfaces
- Interior latex paint or chalk paint in your chosen finish
- Paintbrushes and a small foam roller
- Fine-grit sponge sanding block for use between coats
- Painter’s tape and a drop cloth
- Optional: lightweight spackle or wood filler for chips and dented corners
Cost Breakdown for Refinishing MDF Furniture
One of the biggest advantages of working with MDF furniture is the low material cost. Here is what you can reasonably expect to spend at each level of quality and commitment.
Budget Approach — $20 to $35
At this level you’re working with store-brand primers and paints from big-box retailers. A quart of bonding primer runs around $8 to $10, and a basic interior latex paint lands in the same range. A pack of assorted sandpaper sheets costs $5 to $8. This works well for pieces that won’t see heavy daily use, such as a decorative side table, a bookshelf, or a picture frame surround.
Mid-Range Approach — $40 to $70
At this level you’re stepping up to name-brand primers like Zinsser or KILZ, which offer noticeably better adhesion and edge protection. A quality chalk paint or cabinet-grade latex adds real durability. You might also invest in a small foam roller for smoother application. This is the sweet spot for most DIY furniture flippers who want results that look genuinely professional without an outrageous material cost.
Premium Approach — $80 and Up
Here you’re using a dedicated bonding primer, a high-quality paint with a built-in protective layer, and possibly a spray gun for a factory-smooth finish. Premium chalk paints from brands like Annie Sloan or Fusion Mineral Paint cost more per can but cover beautifully and cure to a durable surface. This level of investment makes the most sense if you’re selling flipped furniture or refinishing a high-traffic piece like a kitchen island or dining table.
Step-by-Step Guide to Sanding and Refinishing MDF
Step One — Assess and Clean the Surface
Before you touch a piece of sandpaper to anything, give the furniture a thorough inspection. Look for delaminating edges, chips, bubbling, or areas where the laminate has already begun to lift. These spots need to be addressed before sanding, because they will look significantly worse after painting.
Clean the entire surface with a damp cloth and a mild dish soap solution. Grease, wax polish, and everyday grime will prevent primer from bonding properly. Let the piece dry completely — and when you think it’s dry, give it another thirty minutes just to be safe. Moisture is the enemy of MDF at every stage of this process.
Step Two — Fill Dents, Chips, and Damaged Edges
Use lightweight spackle or a dedicated wood filler to fill any chips, dents, or crumbled corners. MDF corners and edges are particularly prone to impact damage that looks like compression or crumbling from the inside out. Press the filler firmly into the damaged area, let it dry fully according to package directions, and then sand it smooth with 150-grit sandpaper. Feather the edges of the patch so there’s no visible ridge where the filler ends and the original surface begins.
Step Three — Sand the Face Surface
For laminate-covered MDF, your goal is not to strip the laminate but to scuff it just enough to give primer something to adhere to. Start with 150-grit sandpaper and use a light, even pressure across the entire surface. You are not trying to remove material — you are creating micro-abrasions. Move in even passes and avoid staying in one spot too long. The This Old House editorial team has noted that sanding MDF requires patience and a featherlight hand precisely because the compressed fibers fuzz up quickly if you push too hard or use too coarse a grit.
For raw MDF face surfaces, start with 120-grit to knock down any surface irregularities, then follow with 150-grit for a uniform texture. Finish with a pass of 220-grit for a smooth base before priming. Always wipe the surface with a tack cloth after each grit to remove dust before moving to the next step.
Step Four — Handle the Edges with Extra Care
MDF edges are porous. Left untreated, they will soak up your primer like a sponge and expand slightly, ruining all the careful sanding work you just did. There are two reliable methods for sealing edges before priming. The first is to apply a coat of shellac-based primer like Zinsser BIN directly to the edges only and let it dry completely — shellac dries fast and seals the fibers without the water-based swelling problem. The second method is to thin a small amount of wood glue with water and brush it over the edges as a sealer before priming. Both approaches work well, but shellac is faster and more consistent. According to the Bob Vila team sealing MDF edges is consistently the step most often skipped by beginners, and the one that most reliably leads to a disappointing finish.
Step Five — Apply Bonding Primer to the Full Surface
Once your edges are sealed and your face surfaces are scuffed and dust-free, it’s time for bonding primer. This is not optional. Standard primer does not adhere reliably to laminate or sealed MDF without a bonding formula — the paint will look fine at first but begin lifting and peeling within weeks. Apply one even coat using a foam roller for flat surfaces and a small brush for edges and corners. Work in thin, consistent strokes without overloading the roller.
Let the primer dry completely — usually one to two hours for water-based versions. You will likely notice the surface feels slightly rough after the first coat. That is completely normal. Once dry, sand lightly with 220-grit sandpaper or a fine sponge sanding block, wipe with a tack cloth, and apply a second coat if coverage looks uneven. Two coats of primer on MDF is almost always worth the extra hour.
Step Six — Apply Your Finish Paint
Now the rewarding part. Apply your first coat of paint using a foam roller for broad flat surfaces. Foam rollers minimize brush marks and give a much smoother finish on MDF than traditional bristle brushes. Work in thin coats — it is far better to apply three thin coats than one thick coat that drips, sags, and takes an eternity to dry properly. The Family Handyman editorial team recommends polycrylic over paint on MDF furniture used in high-traffic areas, noting that it significantly extends the life of the finish without yellowing over time the way some oil-based varnishes do.
Between coats, allow full drying time. Lightly sand with 220-grit and wipe clean before applying the next coat. By your third coat, you should have an even, durable finish with excellent color depth. If you want added protection — especially for tabletops, nightstands, or dressers — apply a water-based polycrylic topcoat as a final protective layer.
Step Seven — Reassemble and Allow to Cure
Reattach any hardware only after the paint has fully cured — not just dried to the touch. Paint can feel dry within a few hours but continues to harden for days afterward. Applying pressure too early, such as from drawer pulls or hinges, can leave permanent indentations in the surface. For most latex paints, full cure takes approximately 21 to 30 days, though the piece is generally safe to use gently after 48 to 72 hours. In the meantime, place the piece somewhere with good airflow and avoid stacking or covering it.
Common Mistakes When Refinishing MDF
Even experienced DIYers slip up on MDF projects. Knowing the pitfalls in advance dramatically improves your result.
- Skipping edge sealing: The single most common and most damaging mistake. Unsealed edges absorb primer, swell, and create a bumpy texture that cannot be corrected without stripping the piece entirely.
- Using too coarse a grit: Anything below 100-grit is too aggressive for MDF face surfaces. The fibers fuzz and ball up, leaving a texture that primer cannot smooth over.
- Applying thick coats of paint: Thick coats trap solvents and dry unevenly, causing shrinkage, cracking, and visible brush marks. Thin coats are always the answer.
- Skipping bonding primer: Regular primer simply does not grip laminate-covered MDF reliably. Bonding primer is specifically formulated for non-porous surfaces and is non-negotiable.
- Handling pieces too soon: Touching or moving a piece before it is fully dry is one of the most frustrating ways to ruin a project. Fingerprints in soft paint on MDF are nearly impossible to fix without repainting the area.
- Ignoring humidity and temperature: MDF reacts to moisture in the air as well. Avoid working on very humid days, and always ensure good ventilation to help coatings dry evenly.
Refinishing MDF vs. Solid Wood: What’s Actually Different
People sometimes approach MDF refinishing the same way they would a solid wood project, and that’s where the problems begin. The differences are meaningful enough that they change your product choices, your sanding strategy, and your primer selection entirely.
Solid wood can be sanded aggressively, stripped with chemical removers, and stained to reveal its natural grain. MDF cannot be stained — it has no grain, and stain simply muddies the surface. Solid wood edges handle moisture far better than MDF, which means you don’t need to baby them the same way.
That said, MDF has real advantages. It is almost always flatter and more consistent than solid wood, meaning your painted finish will look smoother and more even if the prep work is done right. It’s also significantly cheaper, which is why it dominates budget furniture. Think of MDF as a specialty material with specific rules — once you know those rules, refinishing it is genuinely straightforward.
You can find helpful resources and project inspiration specifically for budget DIY furniture flipping over at CraftsnComforts, where similar furniture restoration projects are documented with real before-and-after results.
Longevity and Maintenance: How Long Will a Refinished MDF Piece Last
A properly refinished MDF piece — edges sealed, bonding primer applied correctly, finish paint cured fully — can look excellent for five to ten years or longer, depending on how it’s used and where it’s placed. High-traffic pieces like dining tables or kitchen cabinets will experience more wear and may benefit from a polycrylic or lacquer topcoat to extend the finish life.
Day-to-day maintenance is simple: wipe with a damp cloth, avoid harsh chemical cleaners, and address any chips or scuffs early before they expand. Small touch-up jobs are easy with a tiny brush and leftover paint. The biggest long-term threat to a refinished MDF piece is prolonged exposure to moisture — avoid placing these pieces in bathrooms or near sinks without protective coatings, and never let standing water sit on the surface.
The Spruce home improvement editorial team recommends a light re-coat of protective topcoat on high-use MDF furniture every two to three years as a simple maintenance step that dramatically extends the life of the finish without requiring a full refinish.
Frequently Asked Questions
Can you really sand MDF without ruining it?
Yes, but with a lighter touch than solid wood. Stick to 150-grit for scuffing laminate surfaces and 120 to 220-grit for raw MDF faces, progressing through the grits without skipping. The key is avoiding prolonged pressure in one spot, which causes fibers to fuzz.
What is the best primer for MDF furniture?
A bonding primer is the best choice for the face surface of laminate-covered MDF. For raw MDF and especially for the edges, a shellac-based primer like Zinsser BIN is widely considered the gold standard because it seals the porous fibers without the water swelling that water-based primers can cause.
Do I need to seal MDF edges before priming?
Absolutely yes. MDF edges are porous and will absorb primer unevenly if left untreated, causing them to swell and feel rough. Apply shellac-based primer or a diluted wood-glue solution to the edges before any water-based products touch them.
Can I use chalk paint directly on MDF without primer?
Chalk paint has better adhesion than standard latex paint, but on laminate-covered MDF it still needs at least a scuff sand and ideally a coat of bonding primer underneath for a lasting result. On raw MDF, edge-sealing is still required before chalk paint, since the edges will absorb the paint and look patchy.
How long does it take to refinish an MDF dresser from start to finish?
Realistically, plan for a full weekend. Day one covers cleaning, filling, edge sealing, and the first coats of primer. Day two allows for light sanding between primer coats and applying two to three coats of finish paint. Allow the piece to cure for at least 48 hours before handling it regularly.
What paint finish looks best on MDF furniture?
A satin or semi-gloss finish tends to look most polished on MDF and is also the easiest to wipe clean. Flat or matte finishes show fingerprints and scuffs more easily. If you’re going for a specific style like chalk-painted farmhouse furniture, a matte finish works but benefits greatly from a protective polycrylic topcoat.
Is it worth refinishing cheap MDF furniture or should I just buy new?
Often, yes — especially when the piece is structurally sound. A $15 investment in primer and paint can transform a $40 thrift-store piece into something that looks like it came from a boutique home goods shop. The calculation changes only if the piece has significant structural damage, deep delamination, or swollen panels that cannot be sanded flat.
What happens if I skip bonding primer and just use regular paint?
The paint will likely look fine initially, but within a few weeks you’ll start to see it lift, peel, or bubble — especially on laminate-covered surfaces. The adhesion simply isn’t there without a bonding primer or a proper scuff-sand-and-bond step. Fixing this after the fact means stripping the paint and starting over, which costs more time and money than doing it right the first time.
Final Thoughts: MDF Is More Workable Than Most People Think
Refinishing manufactured wood furniture is one of those skills that feels intimidating until the moment you actually try it. Once you understand how MDF behaves — the smooth face, the thirsty edges, the preference for thin coats — the whole process clicks into place. The results can be genuinely impressive, and the cost savings compared to buying new furniture are real.
The essential steps are simple in concept: clean thoroughly, fill damage, scuff or sand lightly, seal those edges without fail, apply a quality bonding primer, and build your finish paint up in thin layers. Every shortcut you take in the preparation phase shows up in the finished product. Every step you complete properly adds months or years to how good that piece looks.
Whether you’re tackling your first DIY furniture primer project or working through a stack of flips, MDF is not the enemy. It’s just a material with specific rules. Follow those rules, take your time between coats, and the finished result will absolutely surprise you.
About the Author
Adeel Mushtaque is a passionate home decor enthusiast and DIY art creator who believes that beautiful living spaces shouldn’t require an expensive renovation budget. With a sharp eye for transforming overlooked thrift-store finds and flat-pack furniture into genuinely stylish pieces, Adeel brings approachable creativity and real technique to every project. His philosophy centers on the idea that affordable materials, a little patience, and the right process can produce results that rival high-end furniture at a fraction of the cost.